With the re-relaunch of this personal website, I thought I would try something different and use the OpenLiteSpeed web server instead of NGINX or Apache. Getting started was easy as my host, DigitalOcean already had a WordPress golden image, that is based on Ubuntu 22.04, available with it. However, IPv6 was enabled by default on the OS level, but not on the web server itself, so I had to perform some research on how to configure OpenLiteSpeed vhosts to listen on IPv6.
So here is a simple tutorial specific to the DigitalOcean image.
- SSH into the server while creating a local SSH tunnel mapping an arbitrary non reserved local port to the remote localhost port 7080.
ssh [remote_user]@[remote host] -L [local port]:localhost:7080- Ideally, you already followed the security best practice of configuring a non root user with SSH key based authentication and disabled root SSH login at this point, either manually, or using a Configuration Management Tool such as Ansible. If you are new to the *nix command line interface, I personally, would recommend starting with the manual approach. However, if you believe you are familiar enough with the *nix CLI, this is a great opportunity to learn the basics of Red Hat Ansible.
- I am going to show you how to make these configuration changes using the web administration panel, however, all of these changes can be made just using a text editor such as VIM by editing the
httpd_config.confconfig file which, in this VM image, is located in the/usr/local/lsws/confdirectory.
- If you prefer to use the web admin panel, find the OpenLiteSpeed web administration panel password located in /root/.litespeed_password.
sudo cat /root/.litespeed_password
- Using your web browser, open up the OpenLiteSpeed web administration panel at
https://localhost:[local port]/login.phpusing the usernameadminand the password found in the previous step.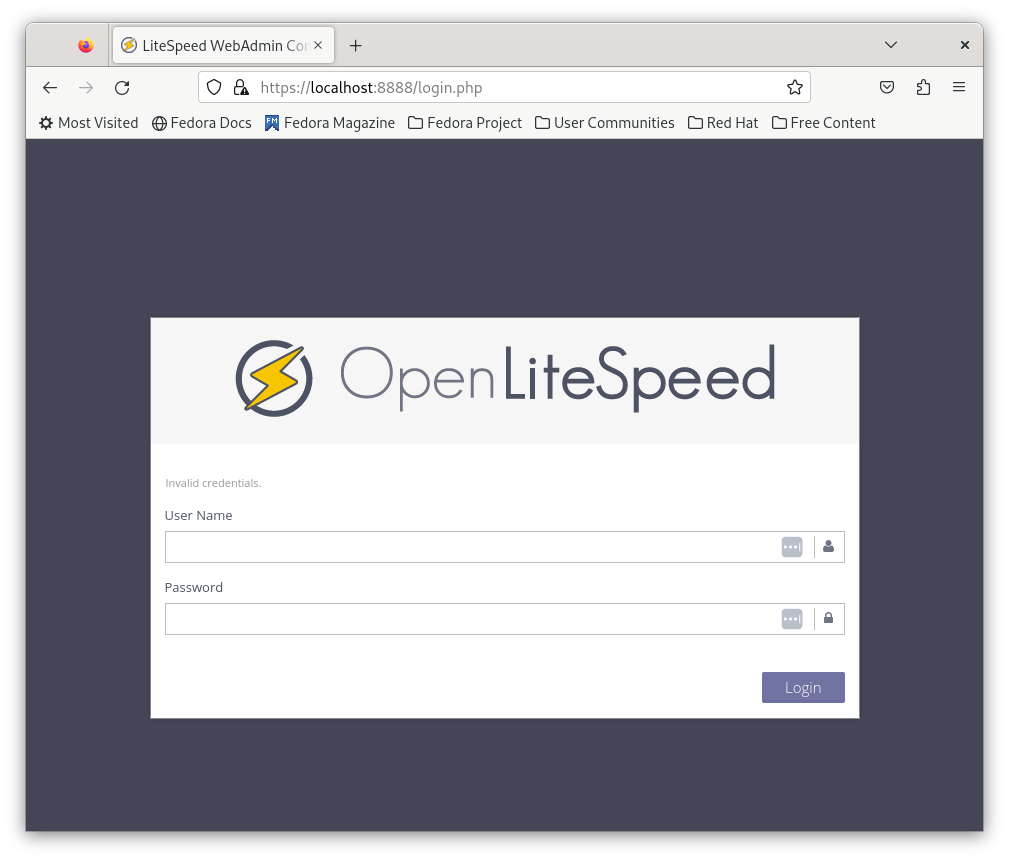
- In the Listeners menu, follow these steps.
- Delete the DEFAULT listener.
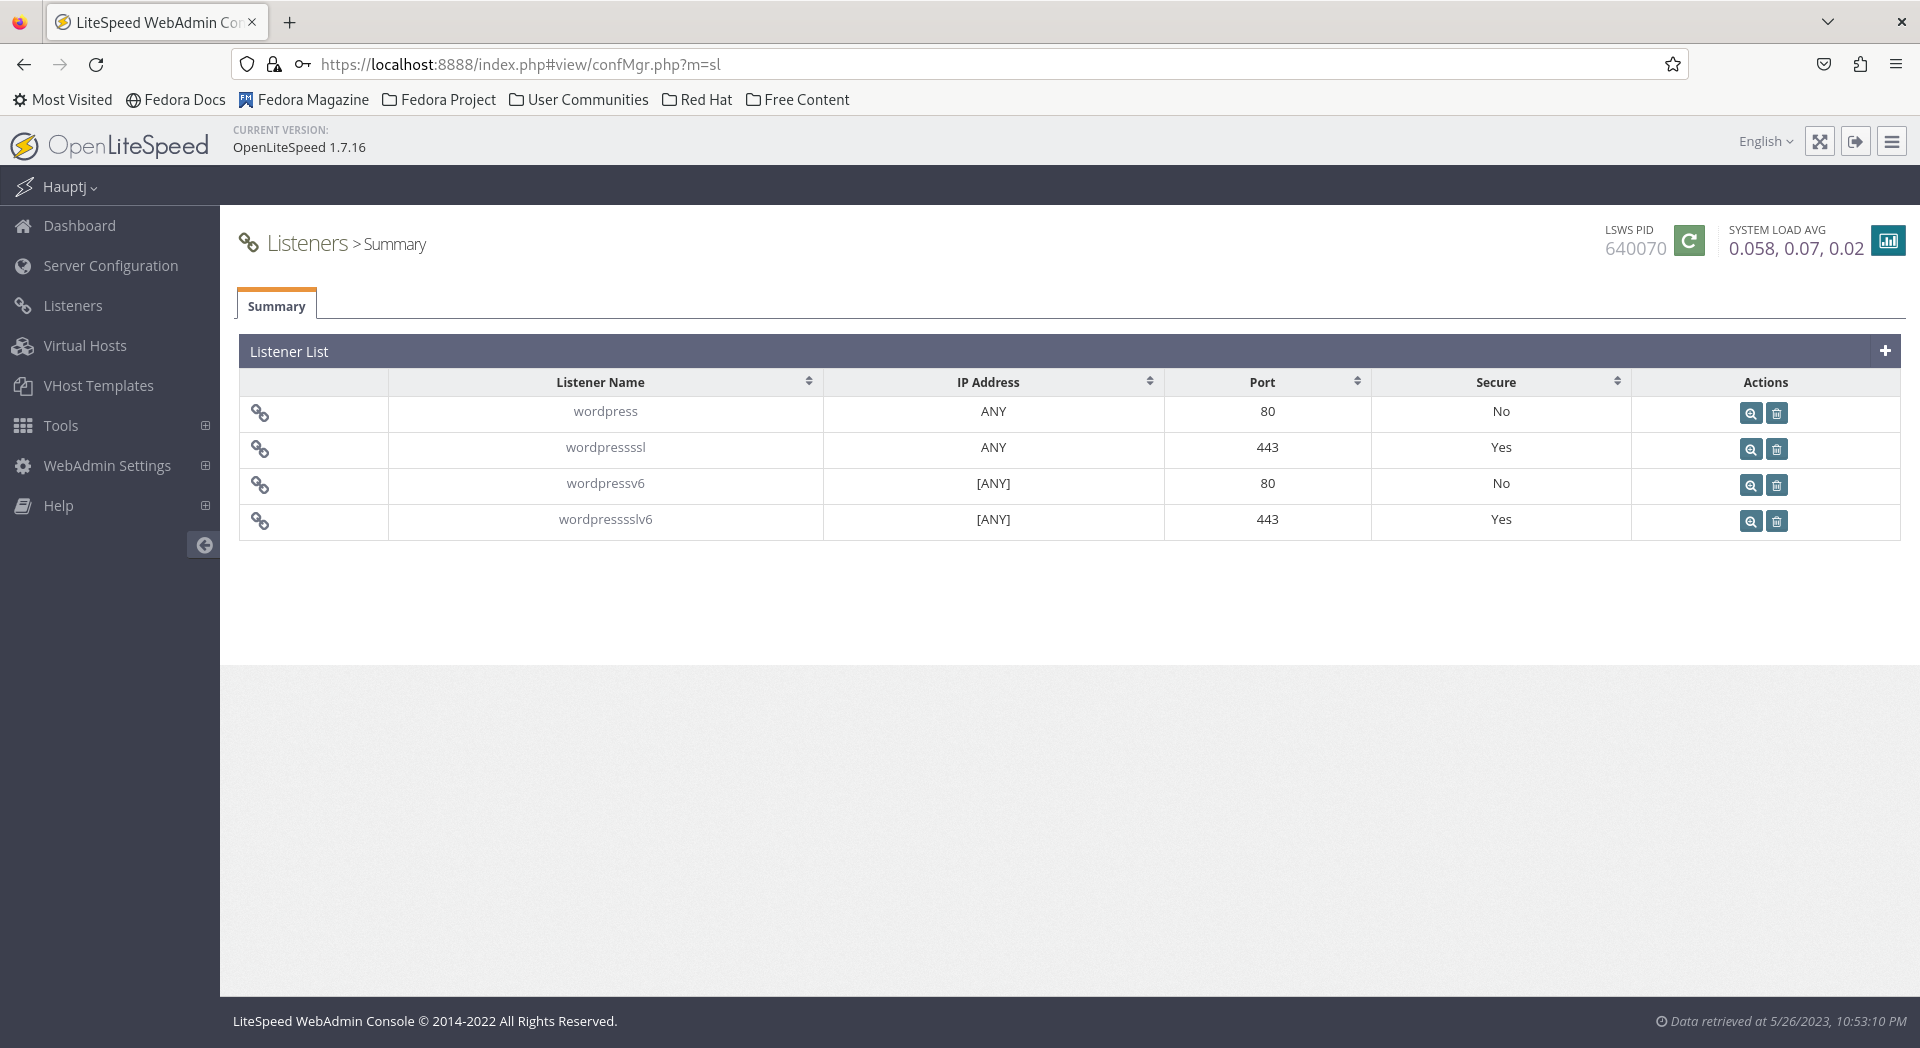
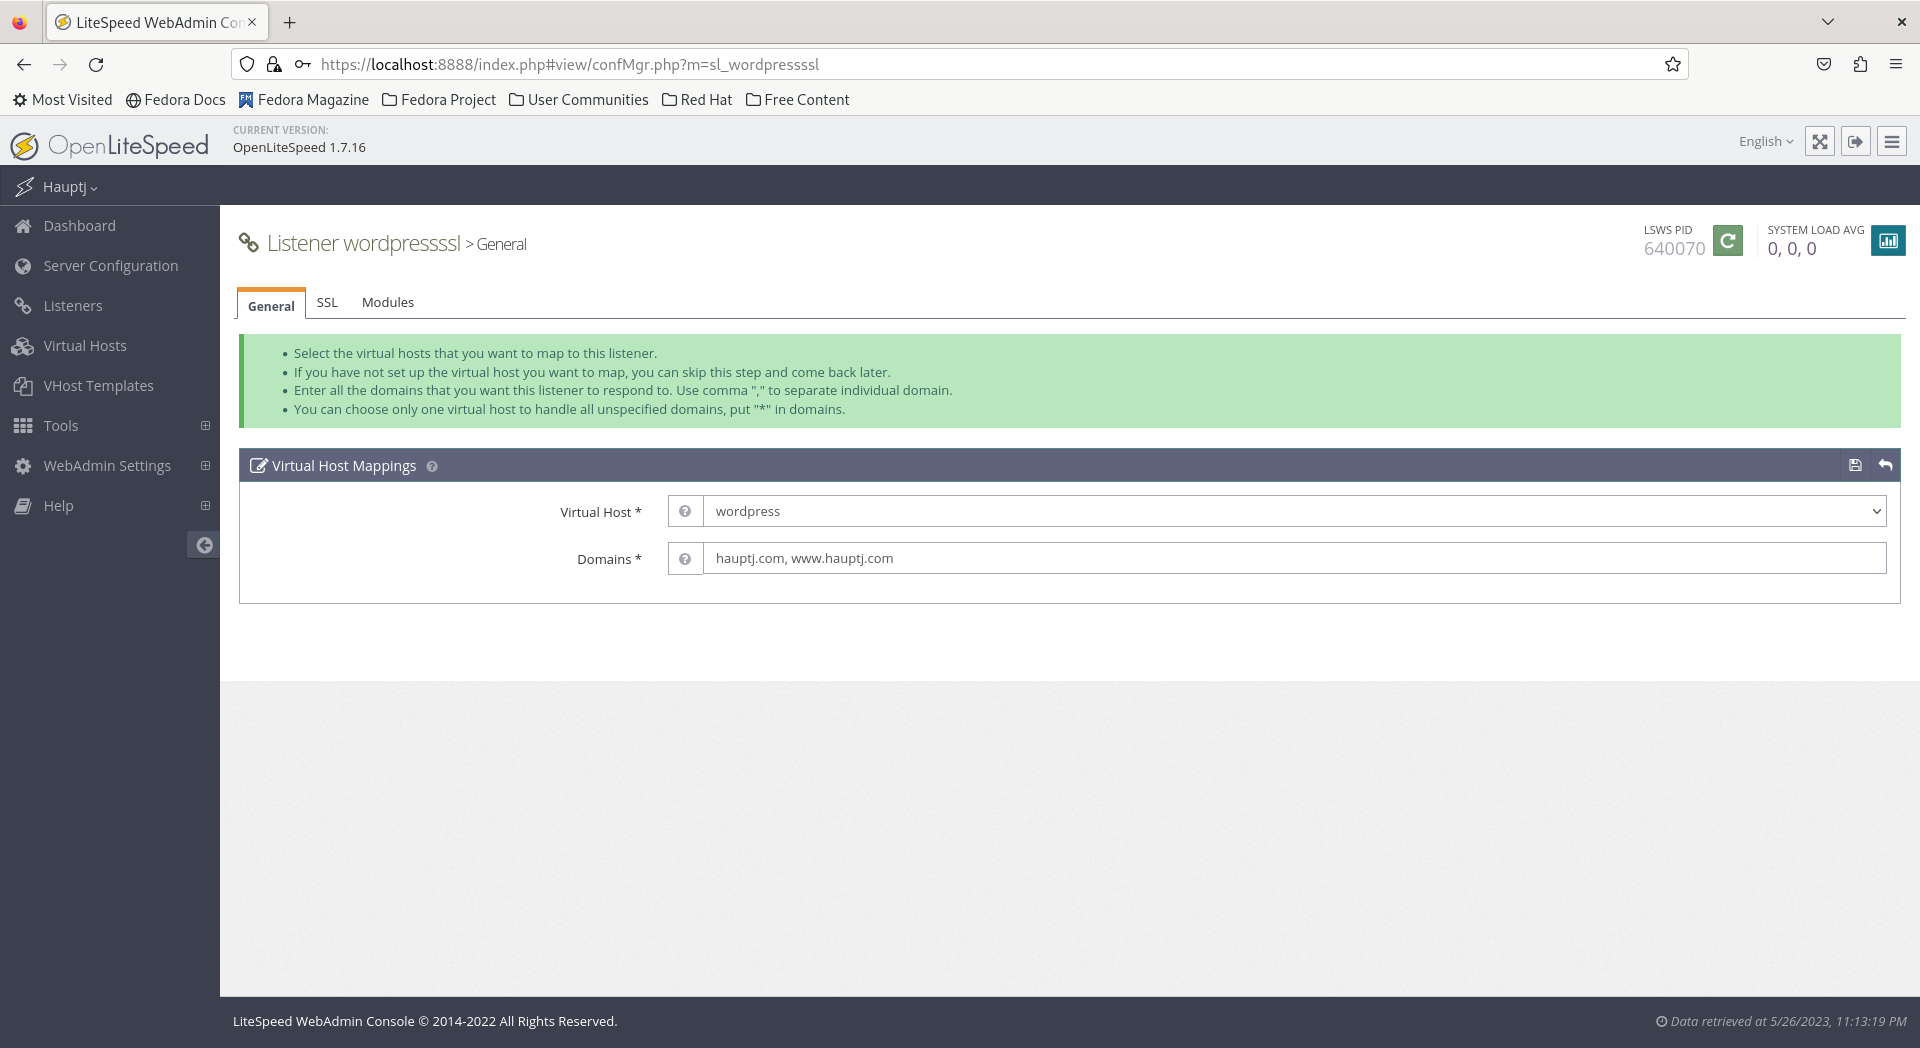
- Edit both the
wordpressand thewordpressssllisteners, and delete the the server IPv4 address under Virtual Host Mappings.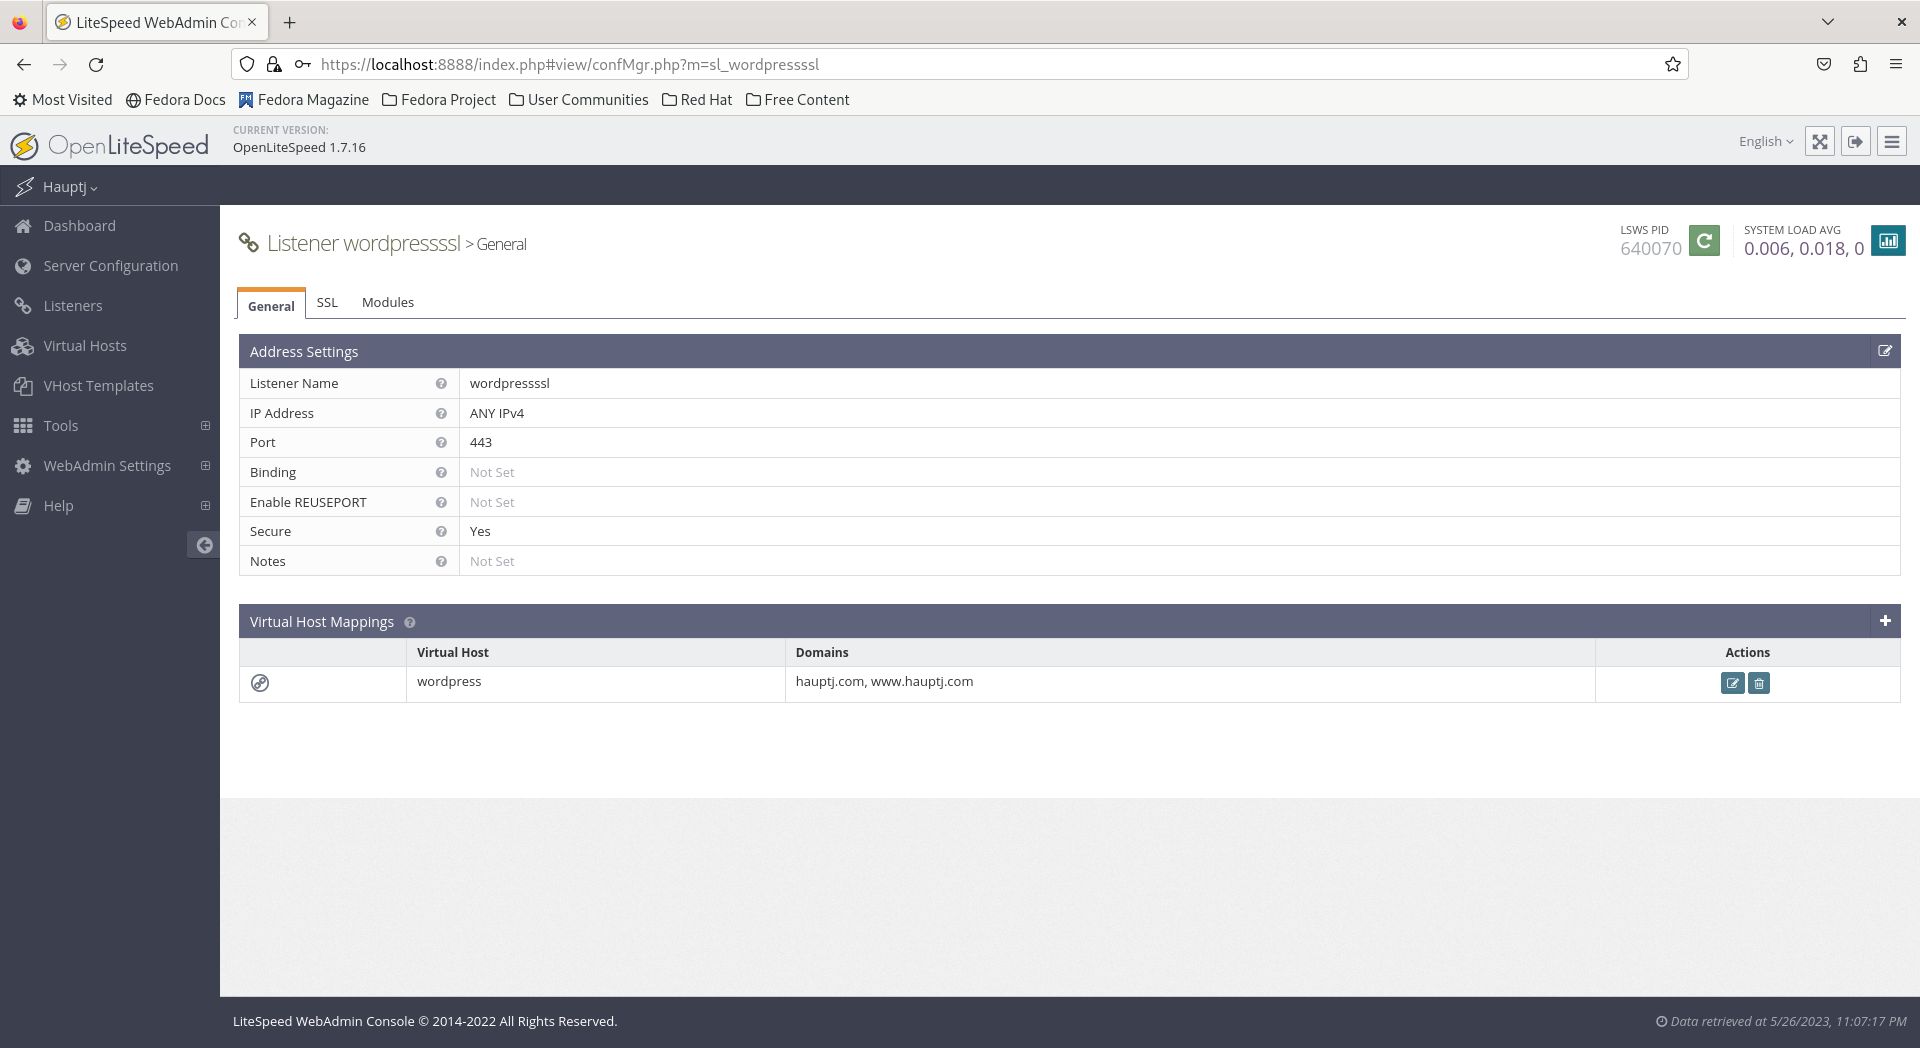
- In the
httpd_config.conffile, the listener configs should look like this afterwards:
- In the
- If you are using CloudFlare, you can skip to step 5 after this.
- Create a secure listener on port
443and a non secure listener on port80both using[ANY] IPv6for the IP Address.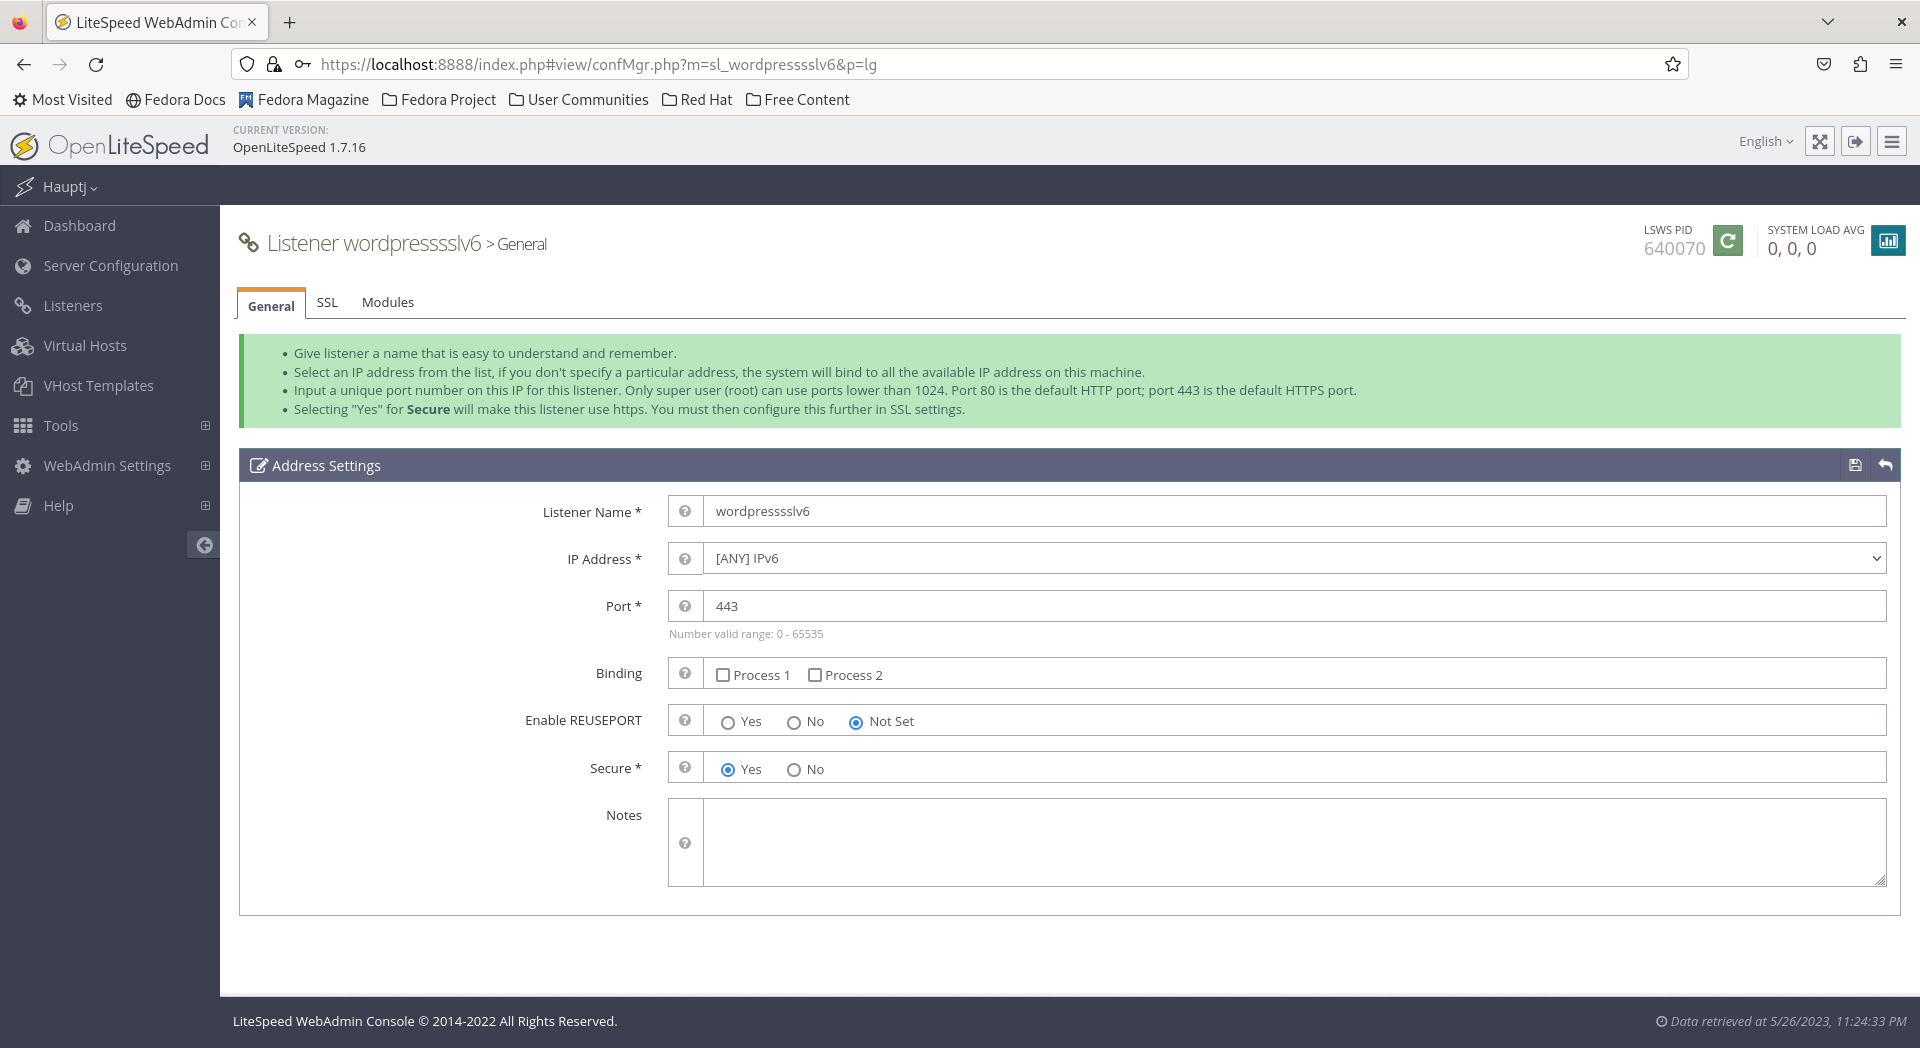
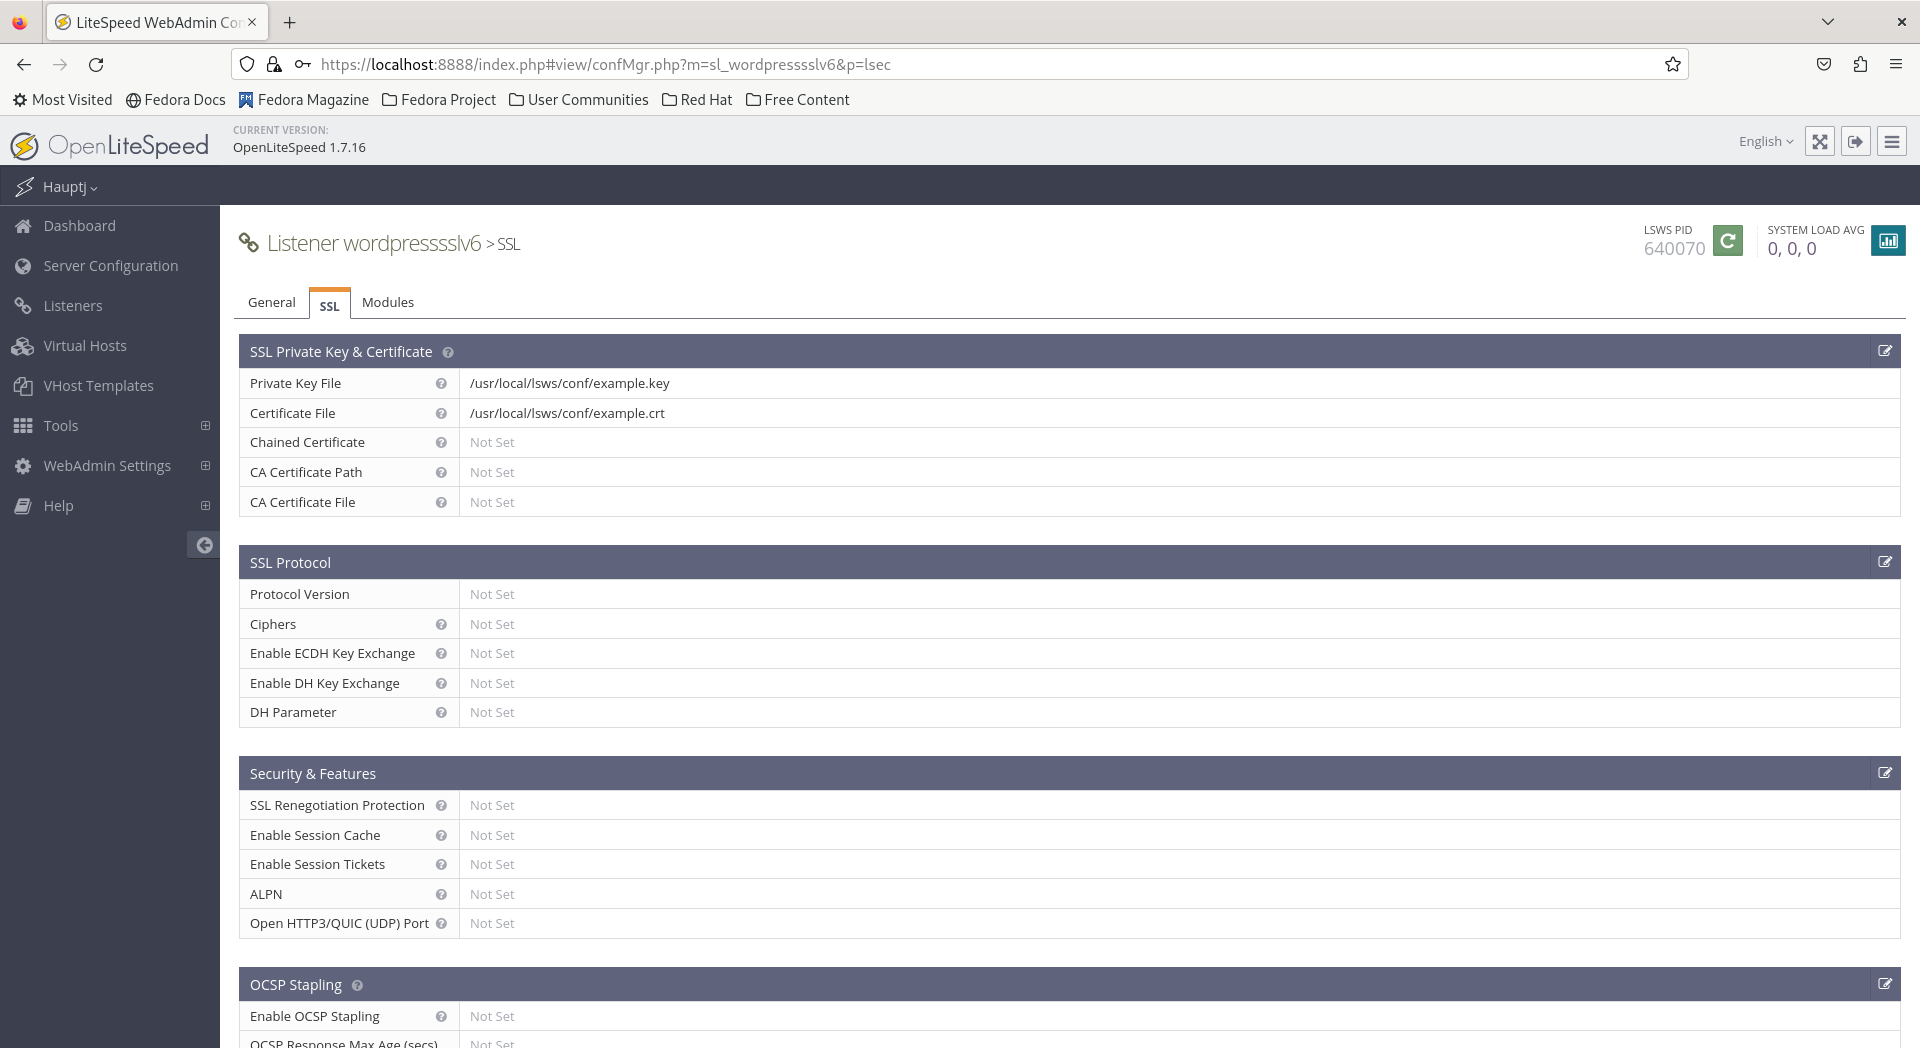
- For the secure listener, copy the path for the Private Key File and the Certificate File from the existing IPv4 secure listener.
- Configure the Virtual Host Mappings for both IPv6 listeners to use the
wordpressVirtual Host copy the Domains used in the existing IPv4 listeners.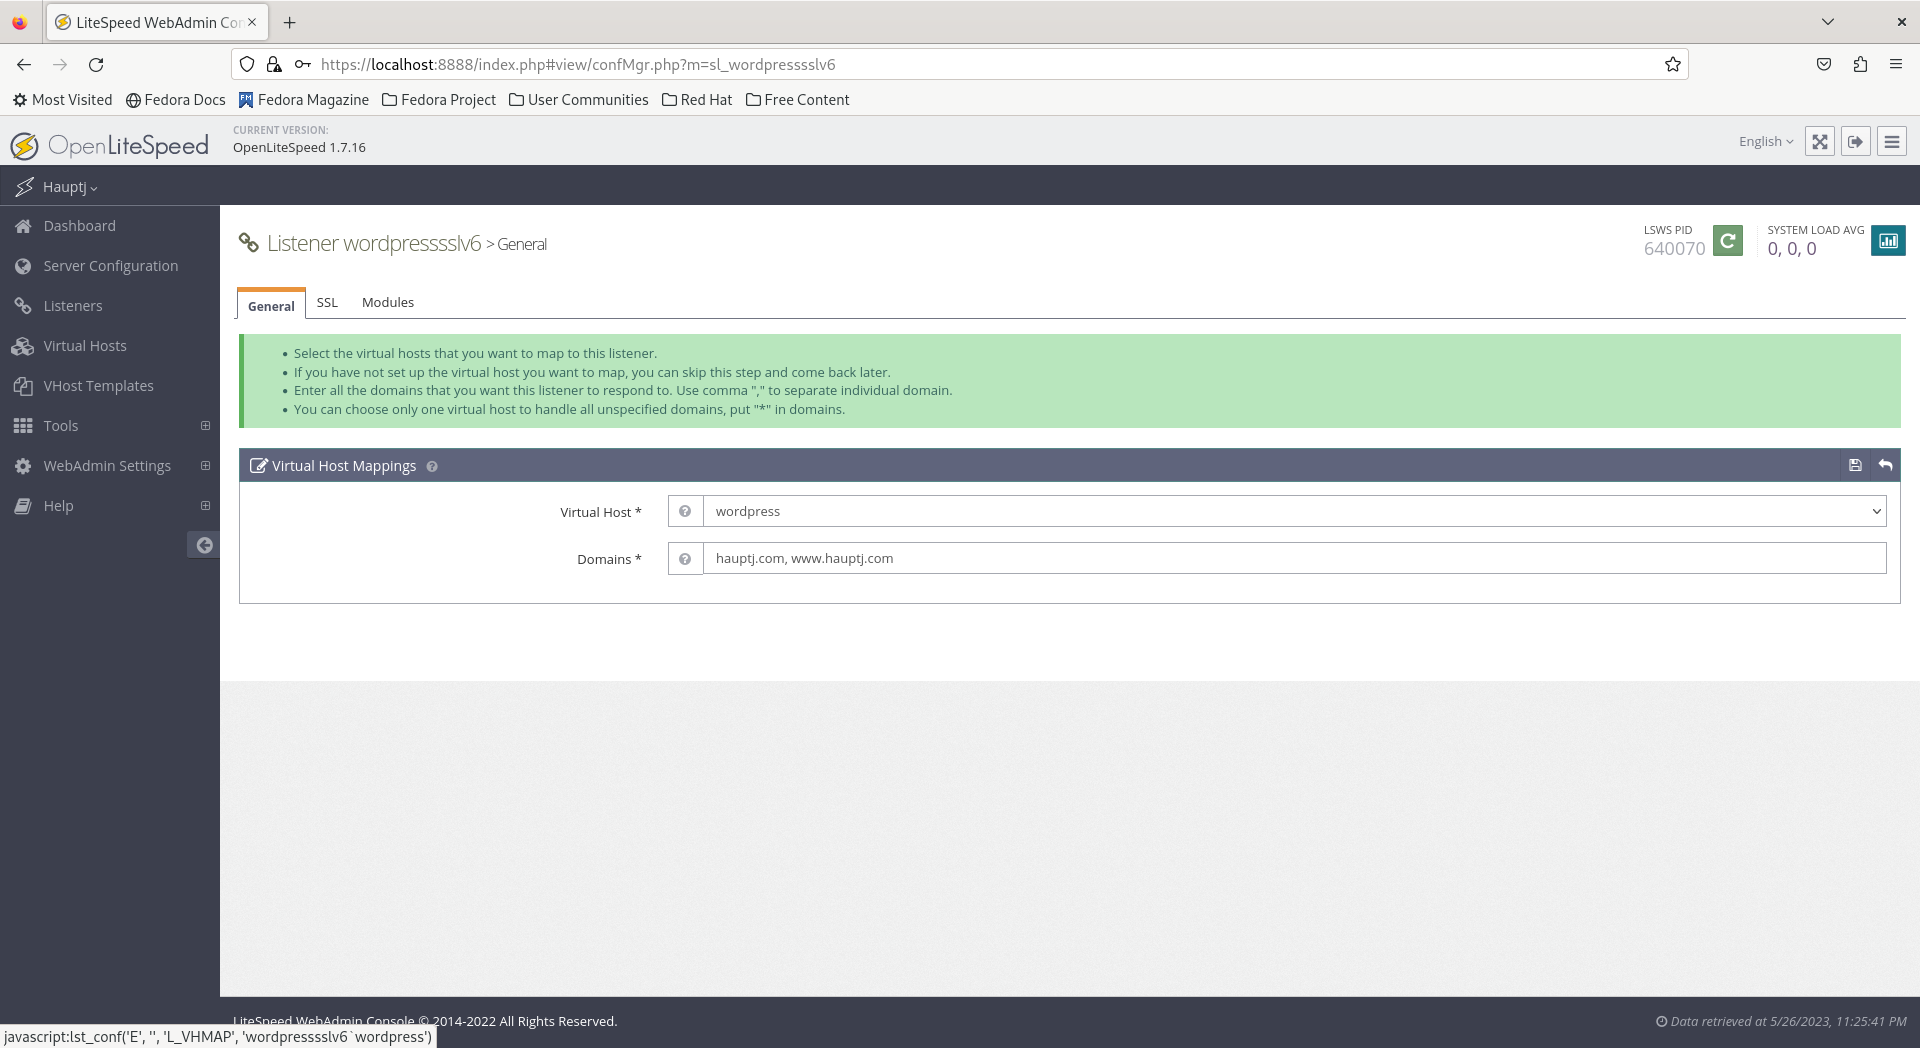
- The listener config blocks in
httpd_config.confshould now resemble this:
- Delete the DEFAULT listener.
- CloudFlare users, or others that are using Web Application Firewall (WAF) service, that supports IPv6 and HTTP to HTTPS redirection, you will technically only need a single secure IPv6 listener since the WAF can handle HTTP to HTTPS redirection and proxy IPv4 user traffic over IPv6 to the server. The only necessary step to enable IPv6 is edit the secure wordpress listener IP Address setting and set it to
[ANY]IPv6. After that, you can either delete the other Listeners at your own risk, or just simply set them to listen for local connections only on127.0.0.1for IPv4 or[::1]for IPv6. Unfortunately, OpenLiteSpeed does not appear to currently support disabling listeners through the web administration interface. On the other hand, you can just simply comment out the unneeded listener blocks in thehttpd_config.conffile.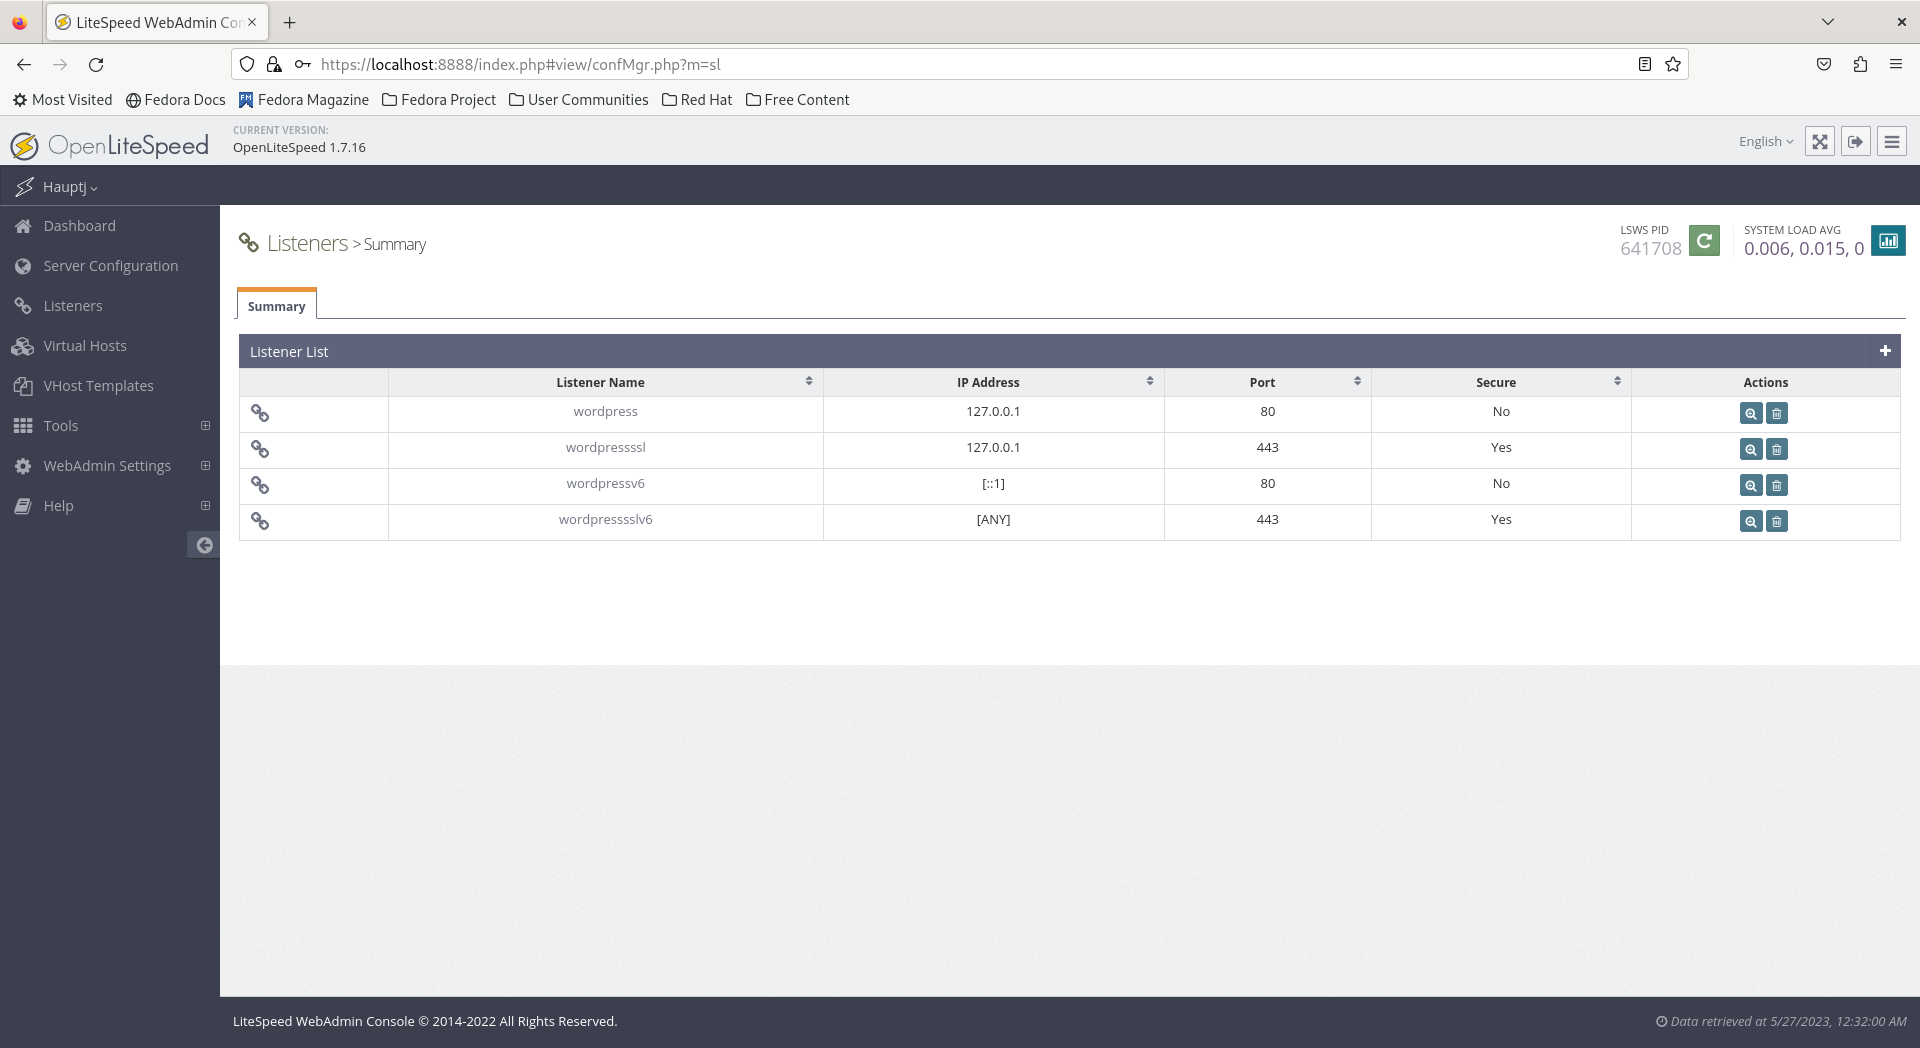
- The only necessary listener block in
httpd_config.confwill resemble this: - Enable Always Use HTTPS in either the CloudFlare Dashboard or using the CloudFlare API.
- Note: Make sure you only have proxied AAAA IPv6 DNS records configured to your server’s IPv6 address. If you have a proxied A IPv4 DNS record pointing to your server, CloudFlare will try to connect to your server via IPv4 and then error out.
- To see real visitor IP addresses instead of CloudFlare’s, by using through the use of the
X-Forwarded-Forheader, you need to follow these instructions to set Use Client IP in Header toTrusted IP Only. However, instead of using the IPv4 addresses provided in the tutorial, you will need to add CloudFlare’s IPv6 Subnets to the trusted list instead, as shown below.ALL, 2400:cb00::/32T, 2606:4700::/32T, 2803:f800::/32T, 2405:b500::/32T, 2405:8100::/32T, 2a06:98c0::/29T, 2c0f:f248::/32T- In the
httpd_config.conffile, this can be added as:
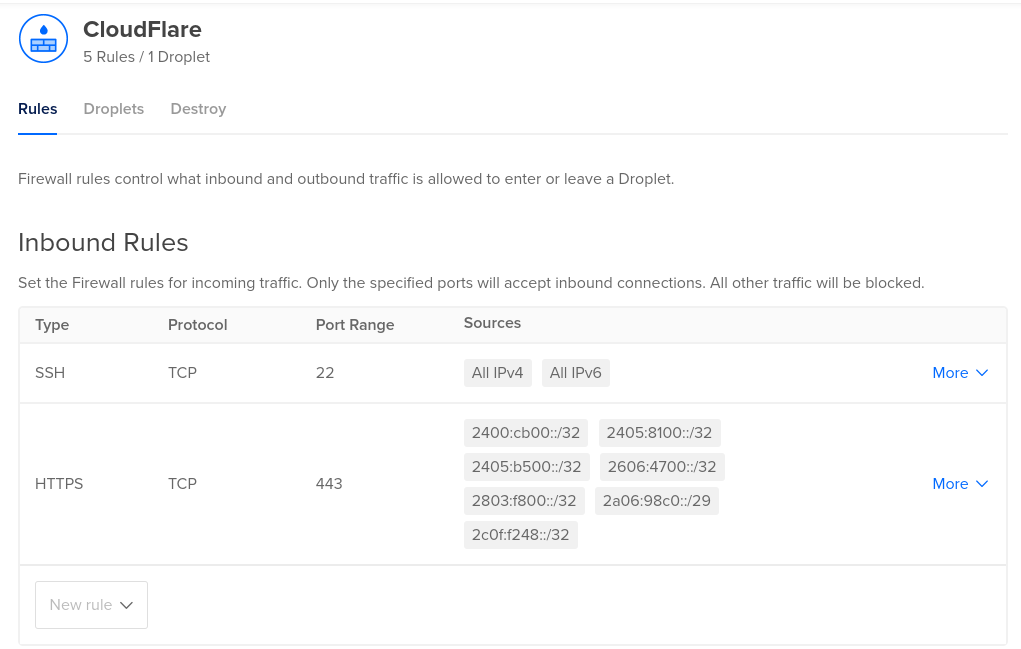
- For added security, you should also consider restricting inbound port 443 TCP HTTPS access to only CloudFlare’s IPv6 address ranges using either your cloud service provider’s firewall service, or a firewall running locally on the server. DigitalOcean provides firewall service through their Cloud Firewalls offering.
- The only necessary listener block in
- Finally, perform a Graceful Restart.
Leave a Reply